
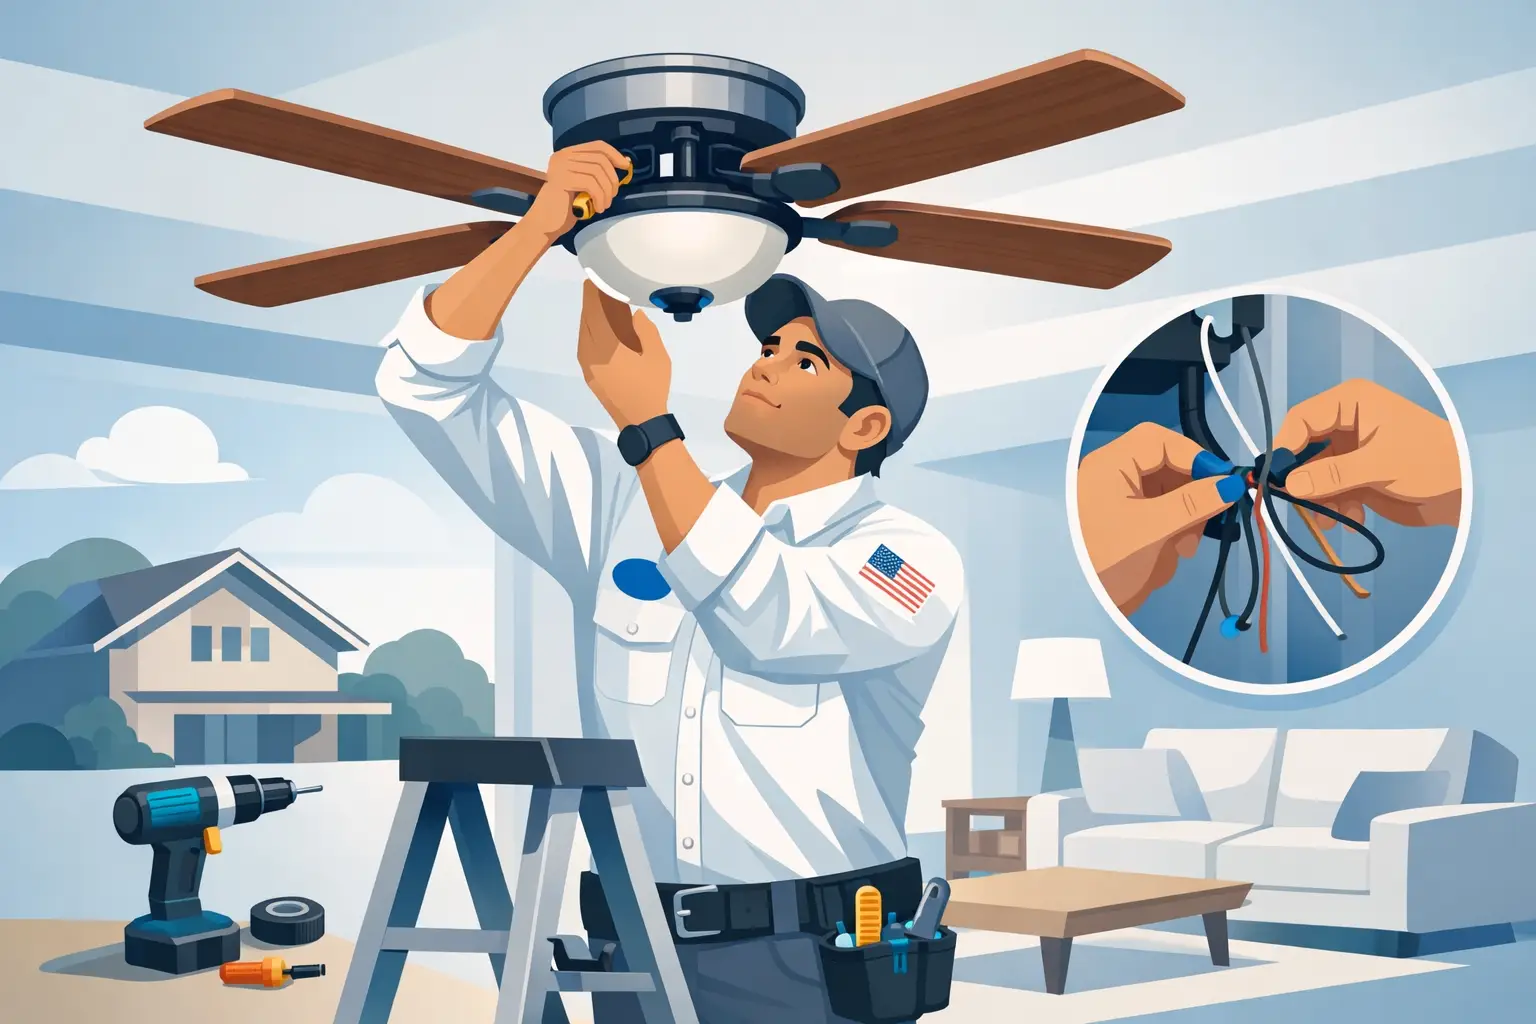
A ceiling fan can make a Southern Utah bedroom, living room, or covered patio feel noticeably more comfortable without asking your cooling system to do all the work. But learning how to install ceiling fans starts with one non-negotiable fact: a fan is heavier, moves constantly, and places far more stress on electrical equipment than a standard light fixture. A loose mounting box or incorrect wiring connection can turn a simple upgrade into a safety problem.
For a new fan where a properly rated fan box and wiring already exist, the physical installation may appear straightforward. The electrical details, ceiling structure, switch setup, and control options are where homeowners can run into trouble. If anything about the existing box, wires, or circuit is uncertain, stop and have a licensed electrician inspect it before proceeding.
Before You Install a Ceiling Fan, Check the Setup
The first question is not which fan looks best. It is whether the location can safely support one. A ceiling fan must be mounted to an electrical box specifically rated for fan support. Ordinary plastic boxes and many light-fixture boxes are not designed to hold the weight and vibration of a rotating fan.
Turn off power at the breaker before removing any existing fixture. Do not rely on the wall switch alone. Then use a proper voltage tester to confirm the wires in the box are de-energized. A switch can be mislabeled, shared with another circuit, or wired in a way that leaves part of the box energized.
Once the old fixture is down, inspect the electrical box and the framing above it. A fan-rated box should be securely attached to a ceiling joist or a listed brace installed between joists. It should not move when gently pulled. If the box shifts, is cracked, lacks a clear fan-support rating, or is attached only to drywall, it needs to be replaced before a fan goes up.
Ceiling height and blade clearance matter, too. Fans need adequate clearance from the floor, walls, cabinets, and doors to operate safely and circulate air effectively. In rooms with higher or vaulted ceilings, a downrod may be necessary. In lower-ceiling rooms, a low-profile mounting style may be the better choice. Outdoor locations need a fan rated for the amount of moisture it will face, not simply a fan that happens to be under a roof.
Tools and Parts You May Need
Your fan manufacturer provides the exact hardware and sequence for that model. In general, installation involves a ladder, screwdrivers, wire connectors, a voltage tester, pliers, and the mounting hardware supplied with the fan. A second person is often helpful, especially when lifting the motor housing onto the mounting bracket.
Avoid substituting screws, brackets, or wire connectors from another project. Fan hardware is designed to work as a system. Using the wrong fasteners can compromise the connection even when the fan seems secure on day one.
How to Install Ceiling Fans Step by Step
After confirming the circuit is off and the box is fan-rated, begin by assembling only the parts the manufacturer directs you to assemble before mounting. Some fans need the downrod and canopy prepared first. Others allow the motor to hang temporarily from the mounting bracket while wiring is completed.
Secure the mounting bracket
Fasten the fan’s mounting bracket directly to the fan-rated electrical box using the supplied machine screws. The bracket must sit flat and tight. This is the connection that carries the fan’s weight, so do not use drywall screws or improvised hardware.
If the fan includes a safety cable, attach it to the approved structural point as directed. A safety cable is an added safeguard, not a replacement for a correctly installed fan-rated box and bracket.
Identify the wiring before making connections
Most ceiling fan installations include a grounding wire, a neutral wire, and one or more hot wires. The fan may have separate wires for the motor and light kit, allowing separate wall-switch control when the home has the necessary wiring. A remote-control receiver can change the wiring arrangement further.
Wire colors are useful clues, but they are not a guarantee. Older homes, previous repairs, and unusual switch configurations can make assumptions risky. If you find damaged insulation, aluminum wiring, multiple cables you cannot identify, or wires that do not match the fan instructions, do not guess. That is the point to call an electrician.
Make each connection exactly as the manufacturer specifies, using approved wire connectors and ensuring no bare conductor is exposed outside the connector. Carefully tuck wires into the box without pinching them under the canopy or mounting hardware. A crowded box, especially one with several existing conductors and a remote receiver, may need professional attention to ensure it is properly sized and safely arranged.
Mount the fan motor and blades
Lift or hang the motor assembly onto the bracket following the fan’s instructions. Confirm that the locking pin, ball-and-socket connection, or other retention mechanism is fully seated before letting go of the fan.
Install the canopy, blade arms, and blades in the stated order. Tighten screws firmly, but do not overtighten them to the point of stripping threads. Small differences in blade hardware can create wobble later, so keep components organized and use the correct screws in each location.
If your fan includes a light kit, install it only after the motor assembly is secure. Connect the light-kit plug or wiring as directed, attach the fixture, and use bulbs within the maximum wattage or electrical rating listed for the fan.
Restore power and test every function
After all covers are in place, restore power at the breaker. Test the fan at each speed, operate the light if included, and check the wall switch or remote control. Watch the fan from a safe distance during its first few minutes of operation.
A slight movement can be normal, but noticeable wobble, clicking, scraping, humming, a hot smell, or a breaker that trips is not. Turn the power off and address the issue before using the fan again. Do not keep tightening random screws while the fan is energized or spinning.
Common Ceiling Fan Installation Problems
A fan that wobbles is often blamed on the blades, but the cause may be a loose mounting bracket, an uneven blade arm, an unbalanced blade, or a box that is not securely supported. A blade-balancing kit can solve minor imbalance after the fan’s structural mounting has been verified.
A fan that will not respond to the wall switch may have a wiring mismatch, an incompatible control setup, or a remote receiver issue. Dimmer switches are another frequent problem. Unless a fan and its control are specifically rated to work together, a standard light dimmer should not be used to control the fan motor.
Flickering lights, intermittent operation, or a warm switch can point to loose electrical connections. These are not cosmetic annoyances. Shut off the circuit and arrange service, particularly if the problem starts after installation.
When a Licensed Electrician Is the Better Choice
Replacing an existing fan on a known fan-rated box is different from installing a fan where no fixture exists. New locations may require a new circuit path, a ceiling brace, switch wiring, and careful work around insulation or framing. Those tasks are best handled by a trained residential electrician.
Professional help is also the right call when you have a high ceiling, a heavy fan, a vaulted ceiling, older wiring, a two-switch control plan, or an outdoor installation. An electrician can verify the circuit capacity, install the correct support, make safe connections, and confirm that the controls work as intended.
For homeowners in St. George and across Southern Utah, Service Right Electric can diagnose the existing setup, explain the options before work begins, and complete the installation with clean, secure workmanship. That matters most when a simple fan replacement reveals an undersized box, damaged wiring, or a switch configuration that needs correction.
A well-installed ceiling fan should disappear into everyday life: quiet, steady, responsive, and secure above your head. If the mounting or wiring gives you any reason to hesitate, choosing a professional inspection is a practical way to protect your home and enjoy the comfort the fan was meant to provide.




0 Comments